Monday, December 24, 2012

Holiday Dinner Party

As Christmas is quickly approaching I thought I would dust off my keyboard and share with you a holiday recipe I tried last week when having a group of 10 over for dinner. Since this was my first official test as a holiday host, I'm sure you can imagine the stress I felt building as I began to plan the menu. Here are the things I knew going in:

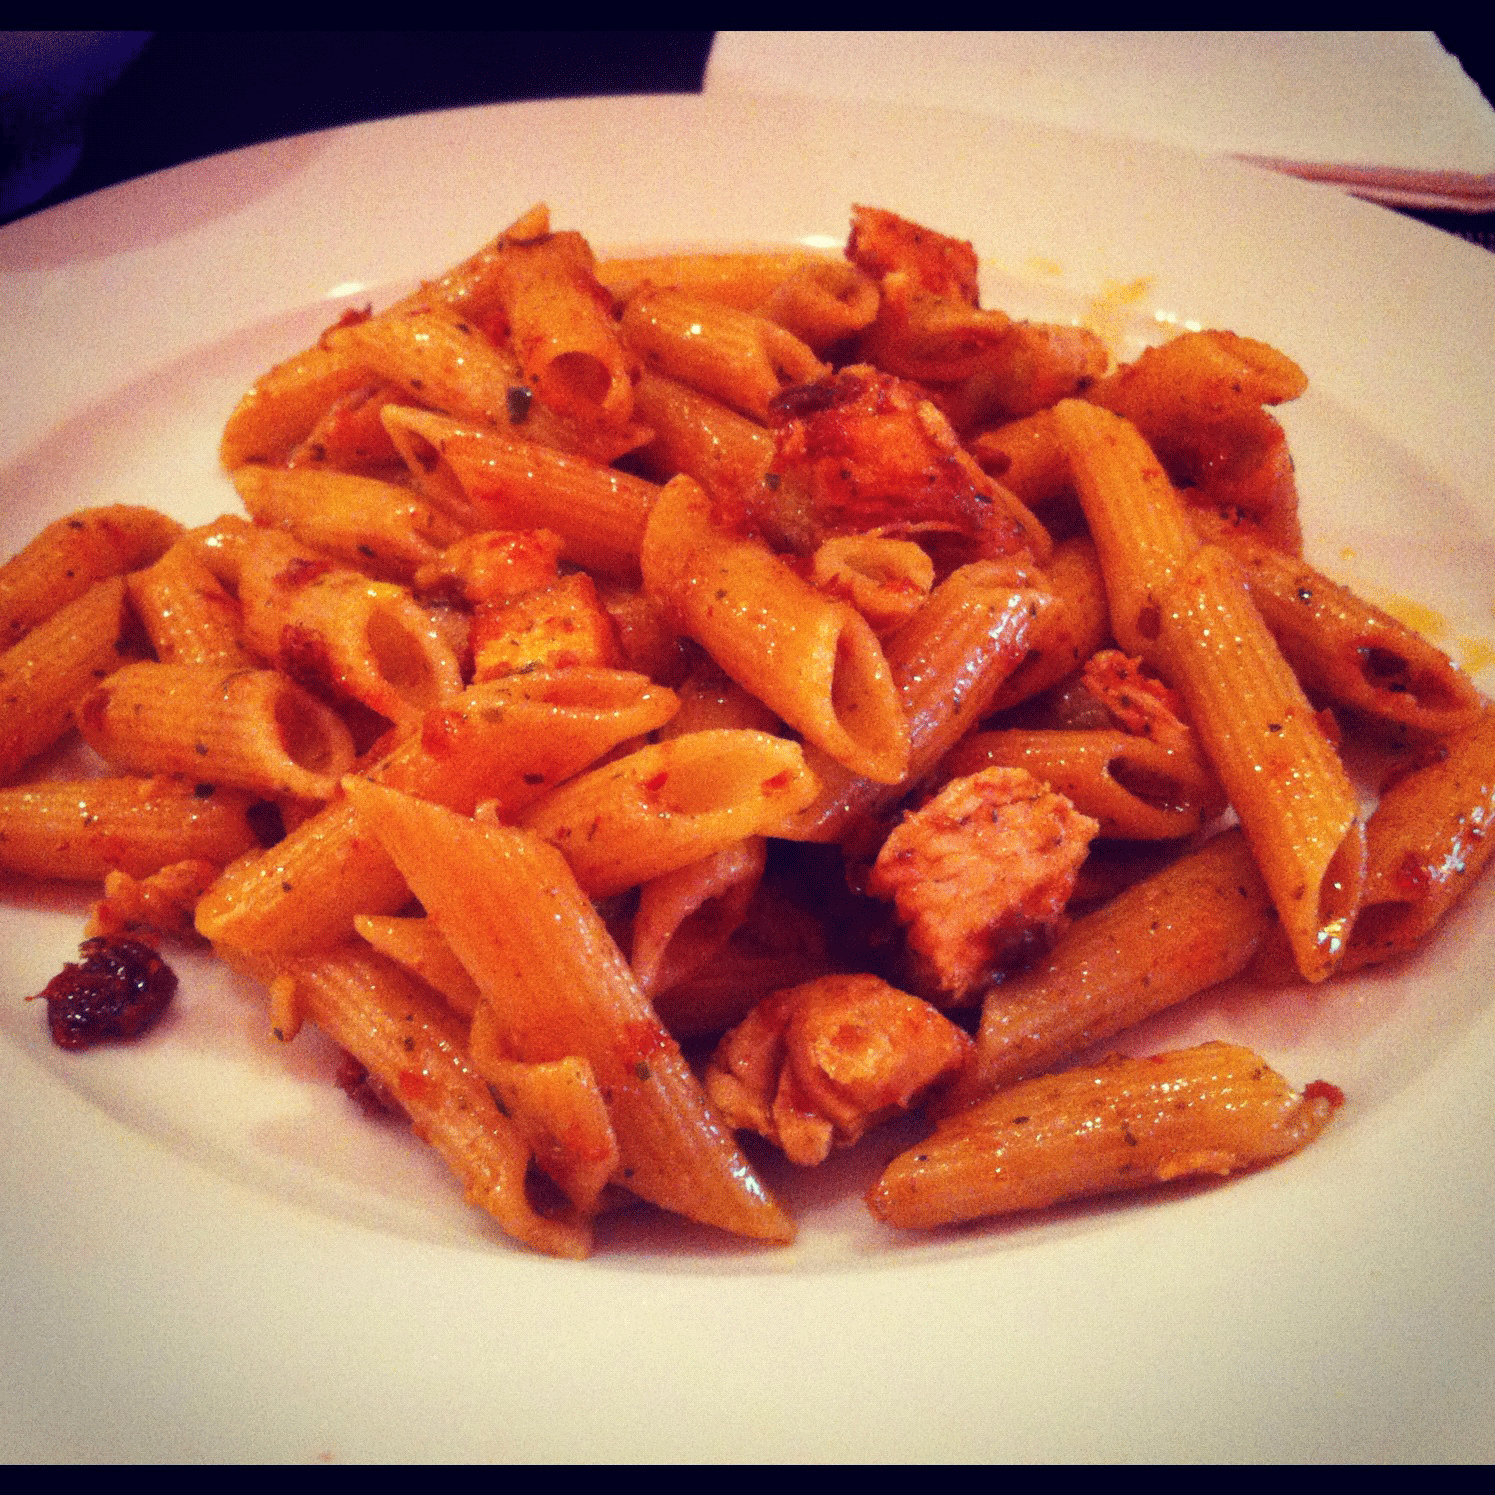
1. I wanted to do pasta: Everyone loves pasta and I'm comfortable making it as I do it often. Also, it's an economical way to serve a large group.

2. I wanted easy appetizers, side dishes: In order to make sure the main-course got my full attention, I didn't spend much time on the other dishes. I went with bagged mixed greens for salad, fresh italian bread from the bakery, and quick and easy bruschetta crackers (recipe below).

3. The meal should be appealing to the eye: The first impression is a great way to make your guests enjoy your meal without even tasting it. I wanted a fun holiday themed table setting, as well as decorations around my apartment.

With all of these taken into account I landed on trying a new recipe (something I was advised not to do) - Three Cheese Rigatoni.


Three Cheese Rigatoni Recipe

3
cups uncooked rigatoni pasta (9 oz)
2
medium stalks celery, sliced (1 cup)
1
small carrot, shredded (1/2 cup)
1
container (8 oz) sour cream-and-chive dip
1
cup shredded Colby cheese (4 oz)
1
cup shredded brick or Monterey Jack cheese (4 oz)
1/4
cup grated Parmesan cheese
1/4
cup milk
1
tablespoon chopped fresh or 1 teaspoon dried basil leaves
1/4
cup Progresso® Panko dry bread crumbs
1
tablespoon butter or margarine, melted
  • Heat oven to 375°F. Cook and drain pasta as directed on package. Return to saucepan.
  • Stir remaining ingredients except bread crumbs and butter into pasta. In ungreased 2-quart casserole, spread pasta mixture. In small bowl, mix bread crumbs and butter; sprinkle around edge of casserole.
  • Bake uncovered 25 to 30 minutes or until hot and bubbly.
Bruschetta Crackers Recipe

This side dish is so easy it doesn't even warrant a step-by-step recipe. All you need are your favorite crackers (I always use the Italian Town House Crackers), cherry tomatoes, and mozzarella cheese. For each cracker slice a tomtit and place on top along with a slice of cheese. To top it off, drizzle with a little olive oil. Finally, throw them in the oven and bake until cheese is melted. Be careful not to burn the crackers!

Other Tips
Along with decorating the table and my apartment I also got some easy and in-expensive party favors for all of my guests. It was a nice way to send them off and it is Christmas after all :)


This meal was fun and easy because I chose a recipe I was comfortable with and started early. I was never rushing to finish which made this day stress-free. I was ready for my guests when they arrived and wasn't stuck in the kitchen while they all got acquainted. 


After my first attempt I am really eager to host another dinner and recommend you do it too. It's a nice way to gather friends together and isn't as hard as it looks. Happy Holidays!

Sunday, June 17, 2012

Sun-Dried Tomato Chicken Pesto Pasta


Summer is FINALLY here. That means a lot coming from someone who lives in Minneapolis. While this past winter certainly wasn't as bad as the year before, it's definitely nice to see the sun shining, flowers blooming, and smell the glorious smell of people grilling-out. Grilling is honestly one of my favorite summer past-times. I could do it everyday. And now that I've stepped up my culinary skills, grilling can go so much further than just burgers and macaroni salad. You can do veggies, chicken breasts, skewers, and more. It's all relatively simple, so I don't plan on blogging any of these meals - unless I come across something that has to be shared.

That's why I'm posting one of my new favorite recipes - Sun-Dried Tomato Chicken Pesto Pasta. I've posted a pesto pasta before, but this adds a fun twist - but both dishes are extremely easy, quick, and are a good way to impress your family and friends.

RECIPE
1 Box Penne Noodles
1 bottle of Sun-Dried tomatoes in olive oil
2 Chicken Breasts
Grated Parmesan Cheese
1 Cup Fresh Basil
2 Cloves Garlic
Salt, Pepper, Olive Oil to taste

DIRECTIONS
I already know that a mixer/chopper is on my Christmas list. Until then however, I have to resort to using my blender - which actually isn't all that bad. The first step is to make the pesto which is all of the ingredients except the noodles and chicken. You can pretty much just dump everything in as-is, except I chopped the garlic to help it out a bit. As much as I love garlic, no one wants a big chunk in their first bite. That's no way to make a good first impression.


Once you think you've mixed your sauce well enough, you can taste to see if anything needs to be added. This is where I added the extra olive oil. **NOTE** The sauce will taste stronger on your fork, than it will when finished. The noodles will absorb the flavor, so don't freak out if you think the taste is too strong. It not only helps all the ingredients come together, but it also helps the blender and keeps it from getting dry.


While you're mixing the sauce, you should also be cooking your chicken breasts. I just did this in a skillet, cooking both sides for about 5 minutes each. I then cut them into small chunks and added to the cooked pasta with the sauce. You should mix them all together and then test for taste. I added more olive oil here as well. 


Garlic cheese bread and a salad are nice sides to add to this dish as well.


Sunday, April 29, 2012

Back with Barbecue Chicken and Macaroni Salad


I feel like we've been on a "break" Ross and Rachel style from Friends (watch this video if you aren't following my reference). Missing each other... wanting to return... but haven't found the time until this very moment to express our feelings. First, let me just start by asking for forgiveness. I realize that it's been almost FIVE months since my last post and I'm sorry that you've been waiting on the edge of your seat for new recipes and culinary tales.

I just haven't been feeling very inspired to cook, so I didn't want to post just for the sake of posting. I'm proud of my digital recipe book and am proud to say that I stick by all the posts on this blog. You should revisit some of the older ones :). I've also recently adopted a new puppy named Mackenzie. She's taking quite a bit of time, but I am dedicated to spending some quality "me time" in the kitchen. But, sometimes it's hard to say no to this face...


However, I did it and came back this week with barbecue - homemade barbecue sauce that's a unique twist on a favorite, and also delicious! For sides I boiled corn on the cob and roasted red potatoes. A few weeks ago I also made Macaroni salad from scratch for a cook-out. It tasted just like what I've always bought at the store :)

BARBEQUE CHICKEN

4 Chicken Breasts
1 Cup Diced Onions
3 Cups Ketchup
1 1/2 Cups Water
1 Cup White Vinegar
6 Tablespoons Brown Sugar
3 Tablespoons Worcestershire Sauce
3 Tablespoons Ground Mustard
Salt and Pepper To Taste

Before making this dish I was really scared to tackle making my own barbecue sauce because it's such a staple. Everyone loves barbecue sauce and has a distinct opinion of how it should taste. Spicy, mild, sweet, smokey. However I decided that this wouldn't really be home-made barbecue chicken unless I tried. 

With that said, there were multiple instances where I wanted to reach into the fridge and just use Sweet Baby Rays (which if you haven't tasted, is the best sauce EVER). 

I digress.

The first thing you want to do is brown your chicken breast in a pan on high with some oil. This should take about 3-4 minutes on each side. The goal here isn't to cook them all the way through, just to add some of the brown coloring on the outside. Once this step is complete, you can set them aside while you make the sauce.


Dice your onion and place in the same pan you used before (adding more oil if necessary). Let the onions simmer for about 3 minutes and then add the remaining ingredients. Let the sauce come to a boil on high, then reduce to medium and let simmer for about 15 minutes. Don't worry if the sauce seems very "watery". As it simmers, it will begin to thicken (although, the end result is a liquid consistency). I tasted the sauce before adding to the chicken and it was VERY strong. It has a prominent citrus taste and an intense bite. Don't worry though, as it cooks in the oven that will dissipate. 

Take the sauce, pour over the chicken and bake in the oven (pre-heated) at 350 for 45 minutes. The end result is a delicious, tender, and unique taste on barbecue chicken :)


MACARONI SALAD
1 Box Elbow Macaroni
1 Cup Diced Celery
1 Cup Diced Red Onion
3 Tablespoons Minced Flat-Leaf Parsley
3 Cups Mayonnaise
2 Cups Dry Mustard
3 Teaspoons Sugar
4 Tablespoons Cider Vinegar
9 Tablespoons Sour Cream


As Summer approaches, there are some key signs of cook-out season: 1) Watermelon, 2) Grilled Corn on the Cob, 3) Macaroni Salad. There's no way that I could go through the entire summer without attempting making this staple - and it's too easy not to try.


After cooking the noodles, simply mix the ingredients together and toss into the noodles. I used about 2/3 of the mixture and then put the salad in the fridge. Save the last 1/3 to add right before serving to make sure that the pasta isn't dry.

And that's it! After five months of longing you've finally have before your eyes two very tasty and brag-worthy recipes to add to your repertoire. I promise that this was our last break and I won't try new recipes without letting you know first :)

Until next time, happy cooking! 

Sunday, January 15, 2012

Chicken Teriyaki - "Battling Addictions"

"Hello. I'm Jonathan. And I'm addicted to Carbs."


Friends, it's been a while. How have you been? Hopefully you haven't given up on those New Year's resolutions yet. You know, they say that 42% of American's abandon their resolutions before the end of January. I think that means one of two things: 1) Our resolutions are unreasonable, or 2) we have no will power. I typically tend to fall to the latter...BUT - not this year (I've said this before)! As many of you know I'm in my second round of P90X (which comes with a strict nutrition plan). This means that veggies are in, and carbs are out.


Do you have any idea how many carbs a person eats?? They're in everything: pasta, bread, buns, crackers, cake, brownies, cookies - ahh! It's safe to say that I have an obsession. It's been a rough road quitting cold turkey. They should make a patch or something. I digress.


I bring this whole point up because in 2012 I plan to blog healthier - or at least will try. Going through this "Life Change" - I've also realized the importance of a guilty pleasure now and then. Those typically happen on the weekend, which is when I decide to blog. So please, don't call me out if I have a weak moment and post a pasta - or confess to a batch of brownies. 


So for my first entry of 2012, I present Chicken Teriyaki - a simple, easy, yet delicious way to make a quick meal your whole group will enjoy. 


Teriyaki Sauce
2 cups water
1/2 cup teriyaki sauce
1/4 cup honey
1-inch peeled ginger root


This sauce is so easy, and really takes your traditional teriyaki sauce to the next level. Simply combine the water and honey in a sauce pan and bring to a boil. This will dilute the honey. Once that has happened, add the ginger and teriyaki sauce and bring the heat down to medium.


Chicken
4 chicken breast
salt
pepper
garlic powder
onion powder
toasted sesame seeds
scallions


I've always had a problem when I try to sauté chicken. No matter what I do it always comes out tough. This week, I had a break-through. It's the type of meat and how you prepare it even before cooking! I typically buy a bag of frozen chicken breast (after all, we have to be economical). But this week, I bought 4 fresh chicken breast straight from the butcher. They went straight from the store, to my cutting board. This made a HUGE difference.


Take the breasts and trim off any fat. As you're doing this, you can also take a mallet (or the bottom of your pan if you don't have this sophisticated kitchen tool) to tenderize the meat. Season with the salt, pepper, garlic, and onion powder before placing in a pan with olive oil. 


Flip the chicken every 4-5 minutes so it cooks evenly. Once the chicken is done (after about 10-15 minutes - you can cut a slit inside to make sure - there shouldn't be any pink), take the sauce that has been staying warm in a pan and pour it in with the chicken. This will help the meat absorb the sauce right before you serve it.


Before you serve the chicken, make sure to sprinkle the toasted sesame seeds on top. They add a bit of crunch and really help in the presentation. You can slice into smaller pieces, or serve as a whole breast. I chose to slice and serve on a bed of whole wheat brown rice and steamed broccoli. 


So for my first foray into the kitchen in 2012 - I think I did pretty good, don't you? Give this recipe a try and let me know what you think! And remember, if you're going to give up your resolution, try to wait until February. Don't become another statistic :)


Until next time, happy cooking! Bon Appétit!